Saturday, 17 November 2012

e.l.f. (Eyes Lips Face) Makeup Brushes: A Review

These are all of my e.l.f. Makeup Brushes.

Hi everyone! Some of the basic tools you need when applying makeup are makeup brushes. Fingers work as well, but they may not do the job as effectively as a brush. With your fingers, steps such as working foundation into the skin, concealing the skin or even packing eye shadow onto the eye lids, can be accomplished. The only time I tend to use my fingers when doing my makeup is to pack eye shadow onto my eye lids, as I have learnt that this works best for me in order to achieve the most pigmented application. Overall, however, my preference is to let my brushes do the work!
Purchasing brushes can be an overwhelming process. Knowing where to start is probably the hardest part. For those of you who are just beginning to experiment with makeup, my recommendation to you is to start with some inexpensive, but good quality brushes, in order to determine what kind of brushes work best for you. E.l.f.’s Studio Line has some fantastic brushes that fit these criteria. Specific to face brushes, the Studio line has brushes that can be used in many unique ways. I must admit that at first, I was a bit skeptical about trying them, as they are sold at such an affordable price. However, considering the price, they are of an extremely high quality and are so unbelievably soft (as they are synthetic-haired Taklon brushes). I highly recommend them!
Over the months, I have accumulated quite a few of e.l.f.’s Studio brushes, but I will share with you some of my favorites, and the ways in which I prefer to use them. The great thing about any makeup brush is that it does not have to be used for its specified purpose, as it is a multi-functional tool.

These are some of my favorite e.l.f. Makeup Brushes.

One of my top recommendations from the e.l.f. Studio Line is their Powder brush. It is a very densely-packed, soft brush and can be used in a variety of ways. The main way in which I like to use this brush is to contour and sculpt the outer perimeter of my face. This brush is perfect for this purpose as its large, circular, flat top defines the face by applying sharp lines to the hollows of the cheekbones and other areas, but blends them at the same time. It is a must-have in any collection, in my opinion.

e.l.f. Studio Powder Brush

Another of their brushes, which again I do not use for its specified purpose, but works amazingly regardless, is the e.l.f. Studio Mineral Powder Brush. I also like to use this brush to contour my face. Its rounded, domed shape fits perfectly to contour the cheekbones and give the face a sculpted effect. It is also great for applying blush to the cheeks. As this brush is smaller, it is better for applying product more precisely to certain areas of the face, as opposed to the Powder brush, which covers a more extensive area.

e.l.f Studio Mineral Powder Brush

This next brush is great for setting areas of the face with a loose powder. I use it to set my under-eye concealer, as well as through the centre of my face (that is, the area in which I tend to get the oiliest throughout the day). This brush is the e.l.f. Studio Blush Brush. For me, it is not the best brush to apply blush with, as it does not allow you to buff the color into the cheeks, as the shape of the brush is pretty flat. I find that it is better to use a brush like this to dust a loose powder onto certain areas of the face.

e.l.f. Studio Blush Brush

The last brush that I would like to mention that stands out to me out of the Studio brushes that I have tried from e.l.f., thus far, is the e.l.f. Studio Angled Contour Brush. Again, I do not use this brush for its specified purpose. I have discovered that it is perfect for applying concealer to the under eye area! The round, flat, angled shape of this brush allows you to get right into the area below the eye, and buffs liquid concealer flawlessly into the skin. I also sometimes use it to apply concealer to other areas of my face when attempting to neutralize the discoloration of my skin. This brush is very soft and delicate on the area under the eye.

e.l.f. Studio Angled Contour Brush

To reiterate, the e.l.f. Studio brushes are soft, high quality brushes made of Synthetic Taklon hair. They are all-black brushes, which is a very sleek, professional-looking design, in my opinion. From my experience with them, they do not shed in any way whatsoever. They are relatively easy to clean, and once they are taken care of, I am pretty sure that they will last you quite a while. The only thing I can say about these brushes which is not a positive attribute is that the names on the brushes do tend to fade as they are printed and not engraved, but to me, that is a very minuscule consequence considering the price that you pay and the quality that is compensated for in every other way.

In this photo, you can see the name fading on one of my brushes.

Below are direct links to where these brushes may be purchased:                            


I really do hope that some of you give these brushes a try, and don’t disregard them simply because they seem like they won’t be good due to the price, as that is not the case at all! :)  

Monday, 12 November 2012

Revlon Colorstay Liquid Foundation: Review and Demo


Hey everyone! I hope you’re all well! Today I’m going to be talking about the Revlon Colorstay Liquid Foundation (as the title suggests), which is an all time favorite foundation of mine! 
I am not a girl who has perfect skin. I occasionally suffer from breakouts, or get the odd blemish here and there. The worst part is that I tend to be a bit obsessive compulsive about certain things, and I can’t help but pick at my face when I do have a pimple (Don’t do this, girls!). Therefore, I also have acne scars, which are focused mainly on my cheeks. My friends often ask me what foundation I use (when I do wear foundation) that works to cover up the blemishes. My answer is always the same: Revlon Colorstay Liquid Foundation!

As you can see in the picture below, I have chosen to do this review and demo whilst I do have a few active breakouts.
This photo was taken directly after washing my face and a little while before I applied the makeup.

When applying this foundation, I tend to mix it with either my moisturizer (by Garnier) or BB Cream, also from the brand Garnier.
Garnier Moister Rescue Lightweight UV Lotion SPF 15
Garnier Skin Renew Miracle Skin Perfector BB Cream

The foundation used on its own dries quickly when applying it (as it is a very long-lasting formula, as the name suggests), and this makes it difficult to blend. This trick that I discovered allows the foundation to blend a lot more easily! I have been doing this ever since I first purchased it, which was about two years ago, and it has not failed me yet. 
*Quick tip: If you are not able to find a shade to match you in the foundation, mixing it with a moisturizer helps you to adjust the color of the foundation to suit!
I mixed equal proportions of the BB cream (above) and foundation (below) to create my perfect shade. This is the amount of product that i applied to my entire face.

The key to mixing your foundation with a moisturizer or BB cream is to ensure that the latter products do not contain a very high SPF, or it will cause the foundation to create a white cast on the skin in flash photography. The moisturizer and BB cream I use both contain an SPF of 15, but this has never been an issue for me. The Revlon foundation, of course, has no SPF, and this is why it is so photo friendly. For this reason, it is exceptionally good to wear for nights out, as it does not cause a white cast in photos and it is also extremely long lasting!
This photo was taken (with flash) after applying one layer of the foundation.

I do not recommend applying this foundation with your fingers, as it gives the best coverage when applied with a brush (in my opinion), and looks the most flawless via this method. Recently, I began experimenting with stippling brushes to apply my foundation. I have found that they work well, and create an airbrushed finish on the skin. I use a stippling brush when I don’t require as heavy a coverage, for example, on clients with flawless skin or simply on days when I don’t necessarily want a maximum coverage. 
This is the brush I used to apply the foundation in the photograph shown above.

For nights out, I prefer to use a flat foundation brush, like the one from Ecotools, as it allows me to achieve maximum coverage to hide my blemishes.
Ecotools Bamboo Foundation Brush

As you can see in the comparison photograph below, one layer of the foundation does cover quite a lot! Most of my marks are hidden, and the redness around my nose is neutralized. The dark area around my eye is also fairly brightened. The great thing about this foundation, however, is that it is build-able and layering it does not cause it become 'cakey' in any way whatsoever.


Please also note that to fully camouflage the dark circles beneath the eyes, I recommend using a concealer to do this. The foundation is meant to provide you with a fairly neutral canvas to work on, but this does not mean that it is going to cover every blemish that you may have.
I really do hope that this review is enlightening, and helps you to make an informed decision about what foundation you should purchase, or even teaches you how to use it in the case that you own it but had no idea how to apply it best until now.

Friday, 9 November 2012

Bad to the Bronze: A Tutorial


A couple of weeks ago I tried out a makeup look on myself using my new (at the time) Maybelline Colour Tattoo 24HR Cream Gel Shadow in the color ‘Bad to the Bronze’. After posting a picture of the look on my Facebook page, a friend of mine was curious to know how I achieved the look. I have therefore decided to share some easy steps with you so that you can attempt to recreate the look yourself. I hope that you try it out and enjoy!

The photos go in order from left to right then downwards.

In the first photo, I have already applied an eye shadow primer. I used the e.l.f. Eyelid Primer for this step. The primer is used in order to help the eye shadows from creasing.

In the photo next to the first, I have applied the Maybelline Colour Tattoo 24HR Cream Gel Shadow in the color ‘Bad to the Bronze’ to the inner two thirds of my eyelids. The cream eye shadow will act as a base for color placed on top it, helping it to appear more vibrant.

Next, I used black Kajal eyeliner on the outer third of my eyelid. This is also a cream product, and therefore acts as a base for color placed on top it. This step will intensify the darkness of the black eye shadow. Some Kajal eyeliners tend to be a bit creamy, and this may cause the eye shadow to crease. An alternative is to use black gel eyeliner instead. I then blended the edges of the cream products into my crease using the e.l.f. contour brush from their Studio line.

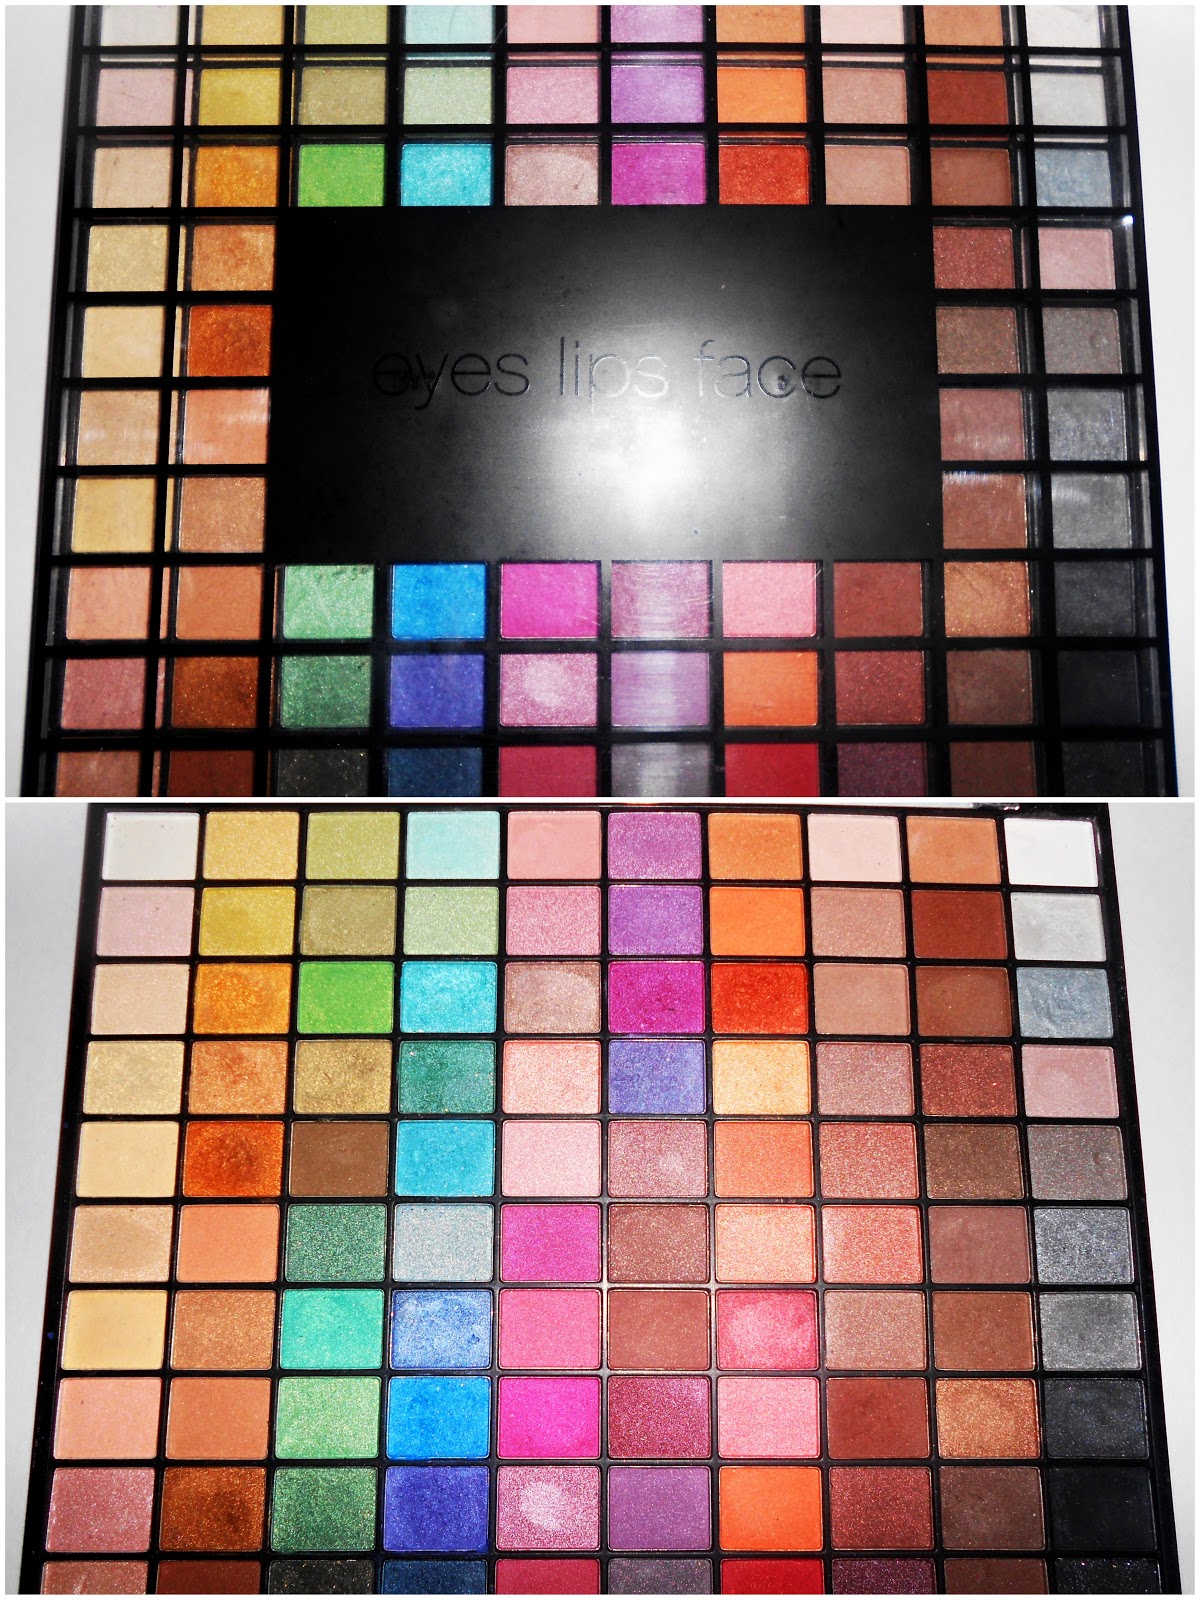
In the fourth photo, I applied a gold eye shadow, mixed with a bit of bronze, over top of the Maybelline Colour Tattoo 24HR Cream Gel Shadow. The eye shadows I used to do this are from a palette by the brand e.l.f. I applied the eye shadows using a flat eye shadow brush (any brand will work), tapping it into both eye shadows a couple times to create the shade I wanted. 


I then placed some black eye shadow on the outer third of my eyelid in a sort of V-shape, also dragging it a little bit into my crease. I used the e.l.f. contour brush for this job as well. A black eye shadow that I recommend using is by the brand L.A. Colors in the shade ‘ebony’. It is incredibly pigmented and surprisingly cheap!

Next, using an angled brush by Ecotools and the same black eye shadow, I placed this very close to my upper lash line in a thin line. I then blended a light brown eye shadow into my crease, and this acts as a transition color so that the black eye shadow is not too harsh against the skin. This also helped to smoke out the eye look, giving it a sexier feel.

Next I applied the same gold eye shadow that I previously used to the inner corners of my eyes using the e.l.f Essential Defining EyeBrush. This brush fits perfectly into the inner corner of the eye and I highly recommend it for this purpose!

I then applied my Maybelline ‘the Falsies Flared’ mascara in ‘very black’ to my top and bottom eyelashes.

I then applied a highlight to my brow bone. I used my Revlon matte eye shadow in ‘Vintage Lace’ for this step. It is the perfect color to use as a non-shimmer highlight for most skin tones! I used my e.l.f. Eye Shadow “C” Brush from their Studio line to apply this.

Finally, using my e.l.f. Small Angled Brush from their Studio line, I filled in my eyebrows using the Revlon matte eye shadow in the colour ‘Rich Sable’. I generally prefer to use eye shadow to fill in my eyebrows as opposed to an eye pencil, as it gives a softer finish and looks much more natural, but still polished.

Some steps that I also did but chose not to photograph are that I applied some of the black eye shadow very close to my lower lash line as this helps to tie the entire look together. Just make sure that this line is not too harsh, but adheres to the smoky theme of the look! I also applied my Revlon ColorStay black eyeliner to my lower water line.

These are the brushes I used to create my look. The 2nd brush from the top is the flat eye shadow brush and the brush at the bottom is the angled brush by Ecotools. 
And that is the look finished! I really do hope that you are able to give this look a try! It will be great for a night out! You do not have to use the same products I did. You can substitute them with some that you already have, but may not know how to use! J