.jpg)
A couple of weeks ago I tried out a makeup look on myself using my new (at the time) Maybelline Colour Tattoo 24HR Cream Gel Shadow in the color ‘Bad to the Bronze’. After posting a picture of the look on my Facebook page, a friend of mine was curious to know how I achieved the look. I have therefore decided to share some easy steps with you so that you can attempt to recreate the look yourself. I hope that you try it out and enjoy!
 |
| The photos go in order from left to right then downwards. |
In the first photo, I have already applied an eye shadow primer.
I used the e.l.f. Eyelid Primer for this step. The primer is used in order to
help the eye shadows from creasing.

In the photo next to the first, I have applied the Maybelline Colour Tattoo 24HR Cream Gel Shadow in the color ‘Bad to the Bronze’ to the inner
two thirds of my eyelids. The cream eye shadow will act as a base for color
placed on top it, helping it to appear more vibrant.

Next, I used black Kajal eyeliner on the outer third of my
eyelid. This is also a cream product, and therefore acts as a base for color placed
on top it. This step will intensify the darkness of the black eye shadow. Some
Kajal eyeliners tend to be a bit creamy, and this may cause the eye shadow to
crease. An alternative is to use black gel eyeliner instead. I then blended the
edges of the cream products into my crease using the e.l.f. contour brush from
their Studio line.
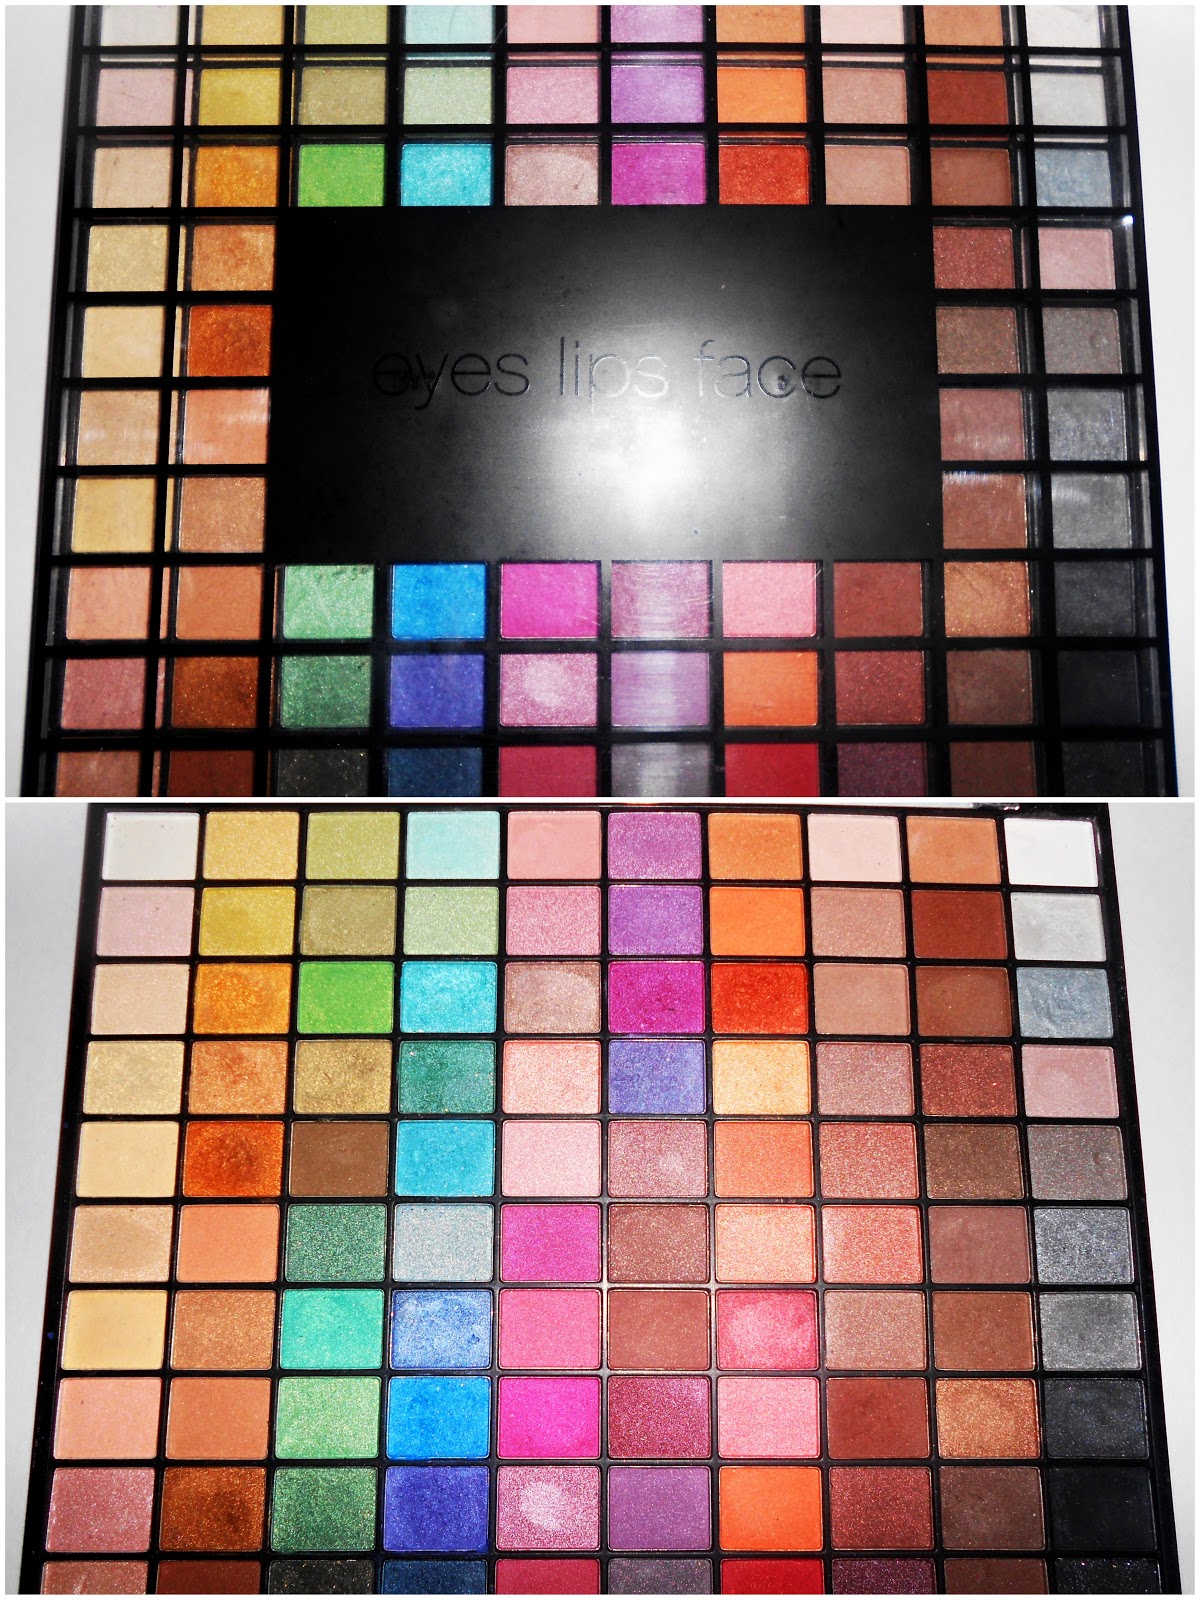
In the fourth photo, I applied a gold eye shadow, mixed with
a bit of bronze, over top of the Maybelline Colour Tattoo 24HR Cream Gel Shadow. The
eye shadows I used to do this are from a palette by the brand e.l.f. I applied
the eye shadows using a flat eye shadow brush (any brand will work), tapping it
into both eye shadows a couple times to create the shade I wanted.

I then placed some black eye shadow on the outer third of my
eyelid in a sort of V-shape, also dragging it a little bit into my crease. I
used the e.l.f. contour brush for this job as well. A black eye shadow that I recommend
using is by the brand L.A. Colors in the shade ‘ebony’. It is incredibly
pigmented and surprisingly cheap!

Next, using an angled brush by Ecotools and the same black
eye shadow, I placed this very close to my upper lash line in a thin line. I then
blended a light brown eye shadow into my crease, and this acts as a transition
color so that the black eye shadow is not too harsh against the skin. This also
helped to smoke out the eye look, giving it a sexier feel.
Next I applied the same gold eye shadow that I previously
used to the inner corners of my eyes using the e.l.f Essential Defining EyeBrush. This brush fits perfectly into the inner corner of the eye and I highly
recommend it for this purpose!

I then applied my Maybelline ‘the Falsies Flared’ mascara in
‘very black’ to my top and bottom eyelashes.

I then applied a highlight to my brow bone. I used my Revlon
matte eye shadow in ‘Vintage Lace’ for this step. It is the perfect color to
use as a non-shimmer highlight for most skin tones! I used my e.l.f. Eye Shadow “C” Brush from their Studio line to apply this.

Finally, using my e.l.f. Small Angled Brush from their
Studio line, I filled in my eyebrows using the Revlon matte eye shadow in the
colour ‘Rich Sable’. I generally prefer to use eye shadow to fill in my
eyebrows as opposed to an eye pencil, as it gives a softer finish and looks
much more natural, but still polished.

Some steps that I also did but chose not to photograph are
that I applied some of the black eye shadow very close to my lower lash line as
this helps to tie the entire look together. Just make sure that this line is
not too harsh, but adheres to the smoky theme of the look! I also
applied my Revlon ColorStay black eyeliner to my lower water line.

 |
| These are the brushes I used to create my look. The 2nd brush from the top is the flat eye shadow brush and the brush at the bottom is the angled brush by Ecotools. |
And that is the look finished! I really do hope that you are
able to give this look a try! It will be great for a night out! You do not have
to use the same products I did. You can substitute them with some that you already
have, but may not know how to use! J

Thank you! This is the perfect look, exactly what I was looking for and you did an excellent pictorial using products that are easily affordable and accessible!
ReplyDeleteThanks a lot for your comment! I'm happy it was helpful for you! :)
Delete